How to add subtitles to your stream via OBS vMIX or Prism Live
Adding subtitles to your church stream can feel a bit tedious, but it doesn’t have to be. This tutorial shows you step by step how to set up your lower-third subtitles in just a few minutes.

Preparation
In VerseCAST app go to Menu / Displays and tap on the “Stream monitor” URL of your choice.
Stream monitor - for vMIX or OBS
Stream monitor (chroma) - for use with a single output keying with hardware streamers such as ATEM
NOTE: If you have not done so yet - click here to set up a static display address. VerseCAST must be running in foreground when your streaming software starts.
Church Stream subtitles in vMIX
click "Add Input" > "Web Browser"
paste the stream URL
enable browser screen in you main window
make sure that the browser screen is on top

Church Stream subtitles in OBS
Go to "Sources" tap (+)
select "Browser"
fill source name and click OK
Fill stream URL to the URL field.
leave "Shutdown source" and "Refresh browser" NOT checked.

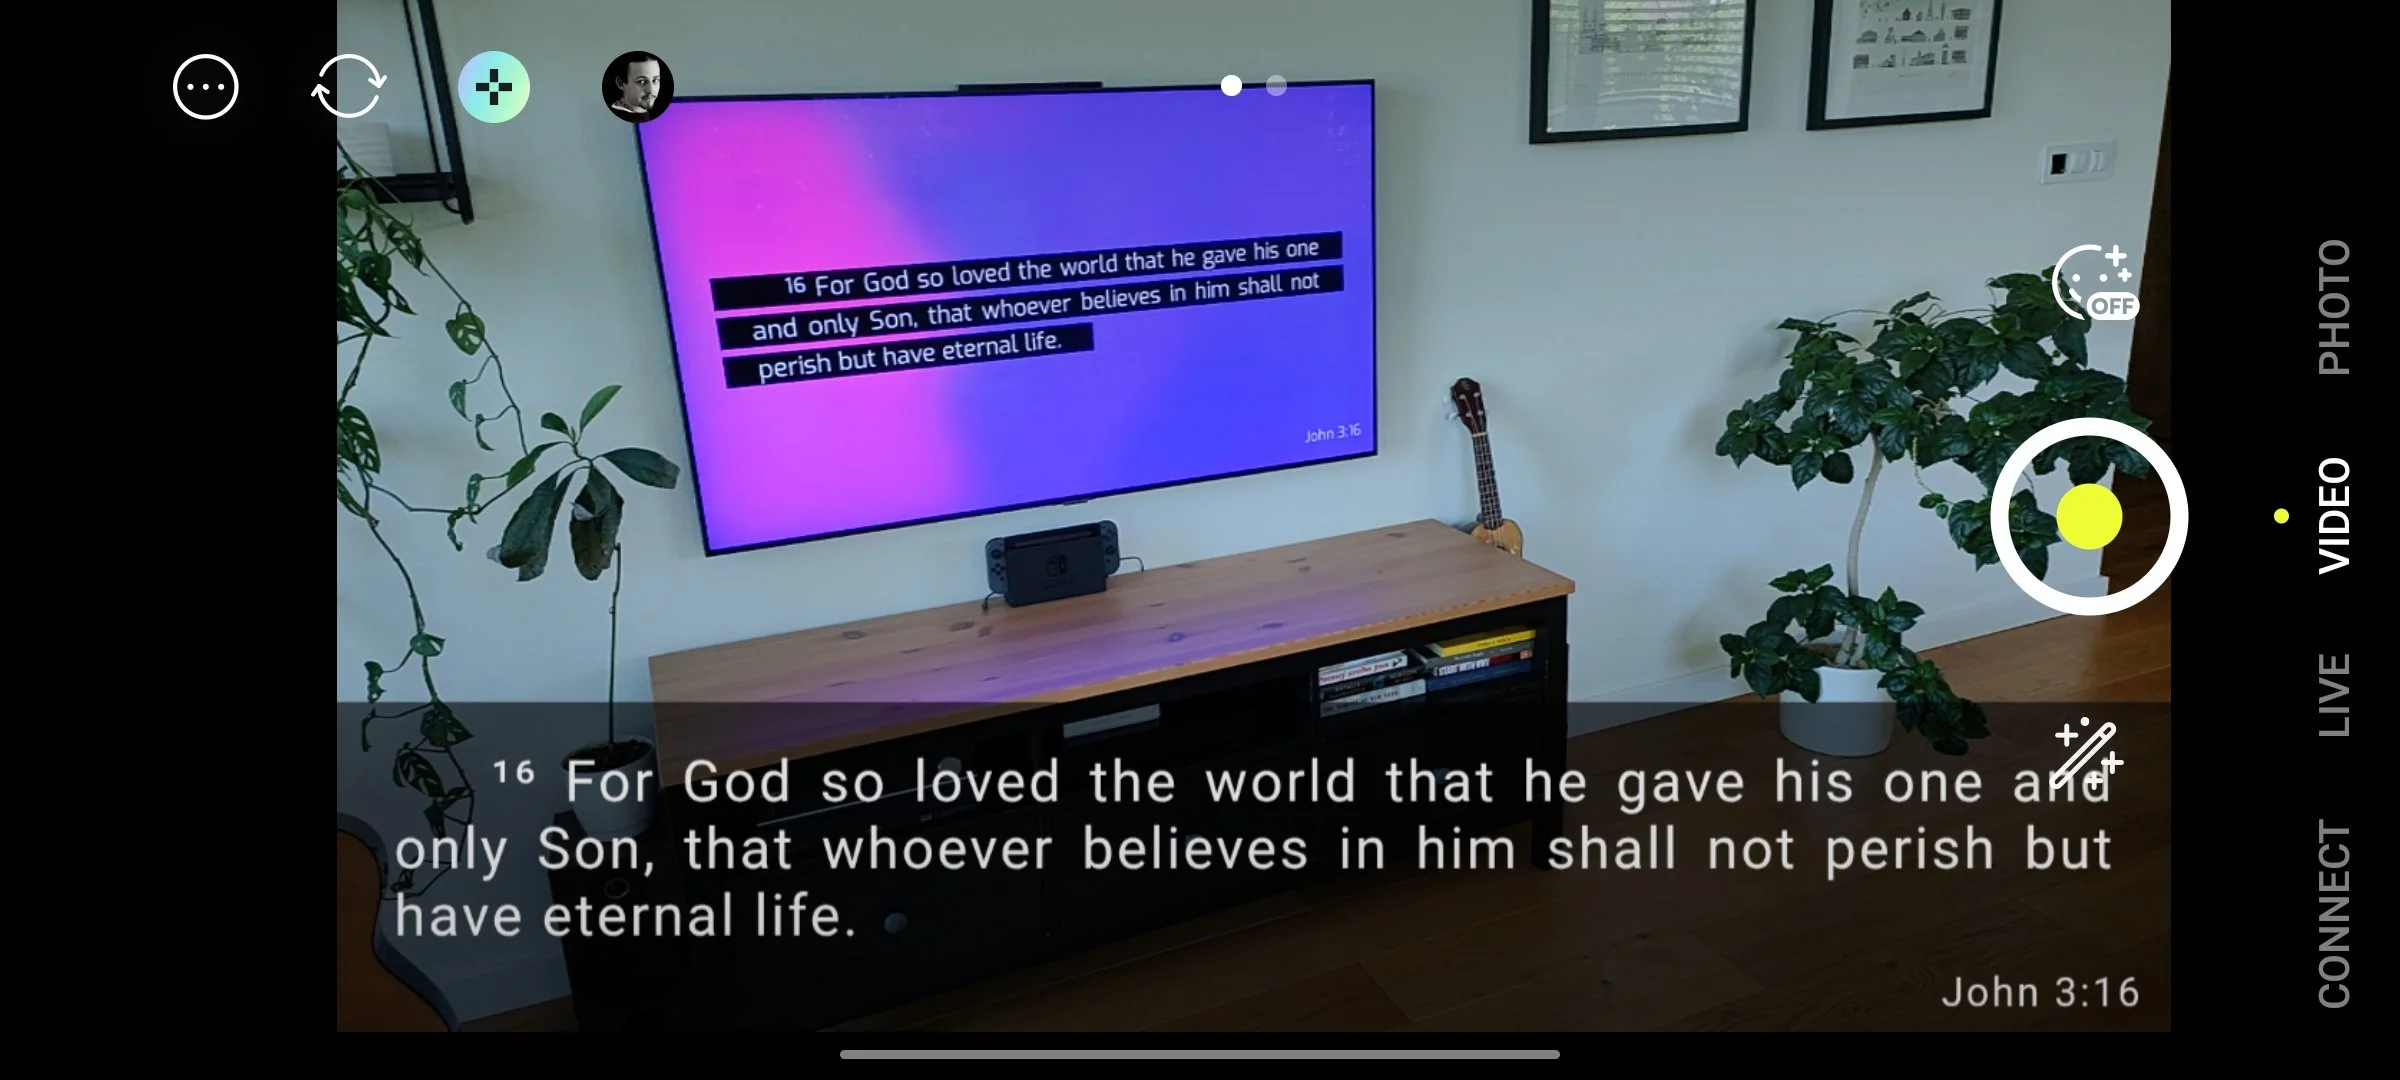
Church Stream with subtitles from a phone
Install and open Prism Live Studio
Swipe to right until you se a “Widget” icon
Tap Widget / Web
Paste the URL to the URL field and Save
Under “My studio” select the newly created scene
Move and scale the browser widget and the press the lock button to lock the browser layer.
Note: You need to update the slide content - e.g. send a Bible verse from VerseCAST for the subtitles to appear on the subtitle screen.
A detailed tutorial on how to setup a church stream with subtitles from a phone can be found here.